How to Clear CMOS: Button, Jumper Pins or Battery (Step by Step)
Clearing CMOS resets your motherboard’s BIOS settings, date, time and BIOS password to factory defaults, using a button, two jumper pins or the CMOS battery.
Last updated: September 2026
Table of Contents
- What Clearing CMOS Actually Does
- When You Should Clear CMOS
- Before You Start: Two Things to Check
- 1. Your BitLocker recovery key
- 2. The settings you changed
- Method 1: The Clear CMOS Button
- Method 2: The Clear CMOS Jumper Pins
- Method 3: Remove the CMOS Battery
- Laptops and Branded Desktops (Dell, HP and Others)
- After Clearing: Settings to Put Back
- Troubleshooting After a CMOS Clear
- Windows asks for a BitLocker recovery key
- The clear didn’t seem to work
- The PC still doesn’t POST
- The date and time reset every time you unplug the PC
- Frequently Asked Questions
- Does clearing CMOS delete my files?
- Is clearing CMOS safe?
- Will clearing CMOS reset my BIOS version?
- How long should I hold the clear CMOS button?
- Does removing the CMOS battery clear CMOS?
- What happens if I press the clear CMOS button by accident?
- Can I clear CMOS while the PC is on?
- What’s the difference between clearing CMOS and Load Optimized Defaults?
A PC that stopped booting after a BIOS tweak, an XMP profile that won’t run, a BIOS password nobody remembers: clearing CMOS is the standard reset for all of them. It takes a minute and it doesn’t touch your files. There are three ways to do it, and which one you use depends on your board. One thing to sort out first, though, because it can lock you out of Windows afterwards: your BitLocker recovery key.
- 🔴 Power off, pull the power cord, then press the power button once to drain leftover power
- 🟡 Using BitLocker or device encryption? Have your recovery key ready first
- 🟢 Clear CMOS button: hold it for 5 to 10 seconds
- 🟢 Jumper pins (CLRTC, JBAT1, CLR_CMOS, CLRCMOS1): short the two pins for 5 to 10 seconds
- 🟡 Battery: remove it, then also clear with the button or pins
- 🟢 Afterwards: load optimized defaults, then set XMP, boot order and Secure Boot again
What Clearing CMOS Actually Does
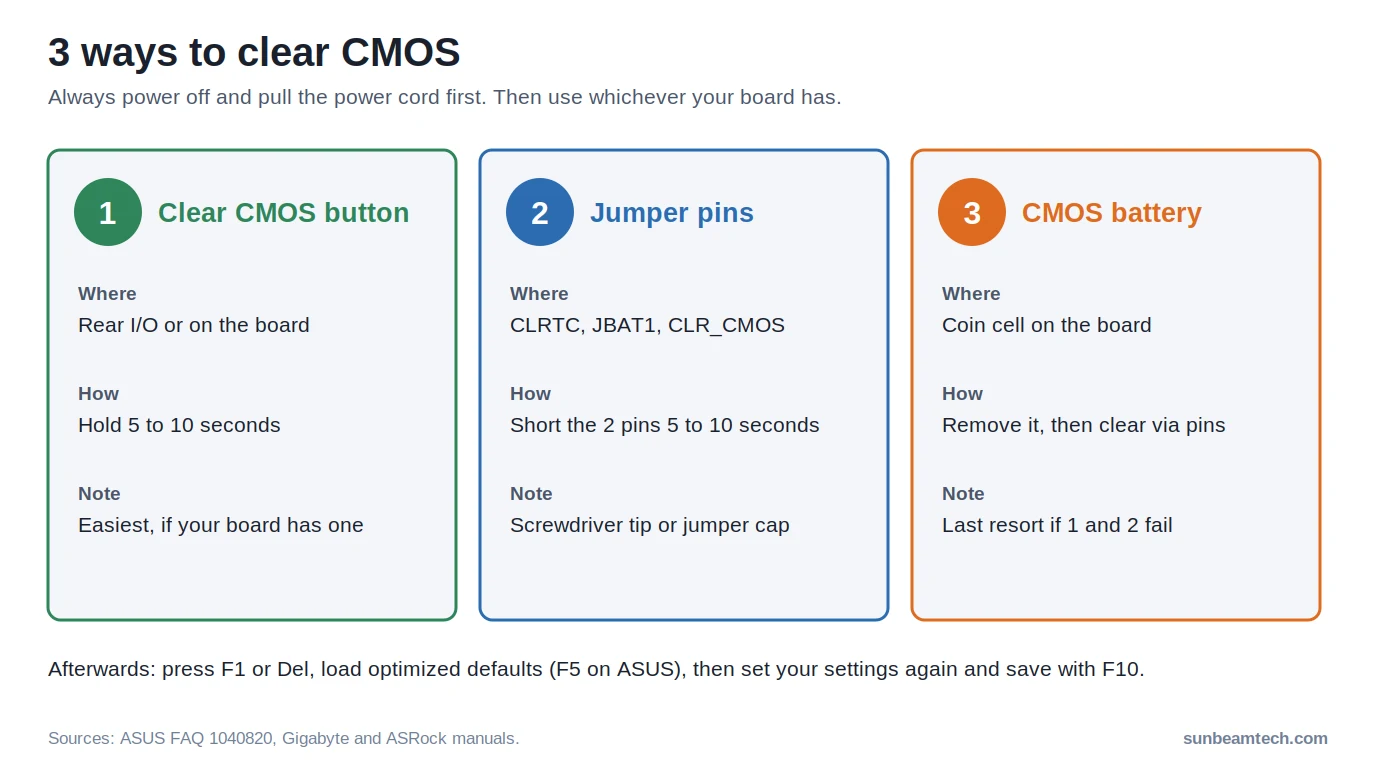
Your BIOS settings live in a small block of memory kept alive by the coin cell battery on the motherboard. ASUS describes it as the Real Time Clock (RTC) RAM, which holds the date, time, BIOS password and BIOS setup parameters. Clearing CMOS wipes that memory, and the board starts again with factory defaults.
It does not touch your SSD or hard drive, so Windows, programs and files stay exactly where they were. It also doesn’t roll back your BIOS. MSI’s FAQ is explicit that clearing CMOS won’t revert the BIOS to its original version. If you updated the BIOS last week, you keep that version.
When You Should Clear CMOS
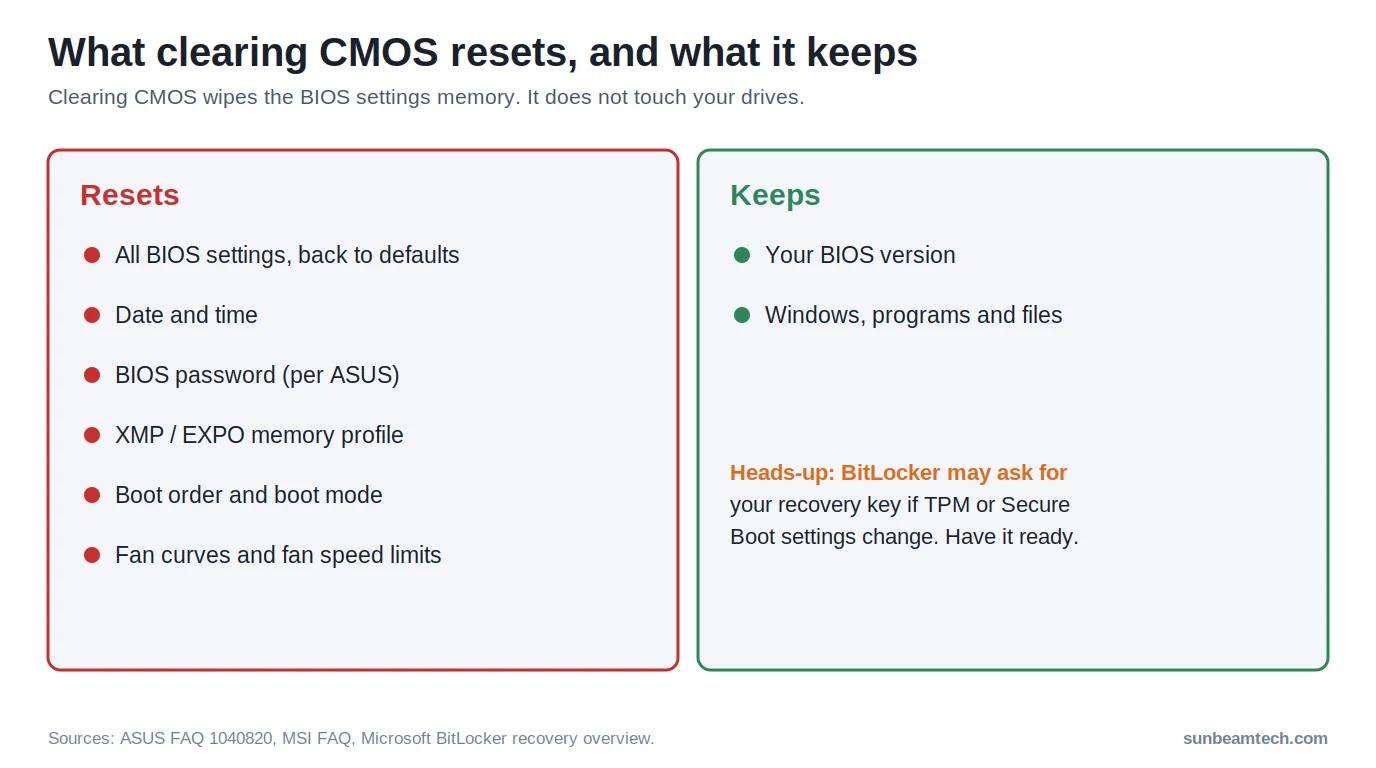
- The PC stopped booting after a BIOS change. A failed overclock, a memory profile the RAM can’t handle, or a setting you can’t undo because you can’t reach the BIOS any more. ASUS lists crashes and freezes after overclocking as a typical reason.
- You forgot the BIOS password. ASUS lists the BIOS password among the data that clearing removes.
- Odd behaviour after a power cut or a hardware swap. Our guide to a PC that won’t turn on after a power outage uses a CMOS clear as one of the first fixes.
- A debug LED stays lit after you changed RAM or CPU. Clearing CMOS forces the board to retrain with default settings. See EZ Debug LED stuck on CPU, DRAM or VGA for the full checklist.
It won’t fix Windows problems, driver issues or a dead component. If the PC didn’t boot before you changed anything in the BIOS, a CMOS clear is worth a try, but don’t expect miracles.
Before You Start: Two Things to Check
1. Your BitLocker recovery key
Many Windows 11 PCs have BitLocker or device encryption switched on automatically, often without the owner noticing. BitLocker watches the firmware and the security chip. According to Microsoft’s BitLocker recovery overview, turning off or clearing the TPM is one of the things that sends Windows into recovery mode. On most boards the firmware TPM (fTPM on AMD, PTT on Intel) is a BIOS setting, so if the factory default differs from what you had, a reset changes it.
If Windows then asks for a 48-digit key and you don’t have it, you’re stuck. So check first: Microsoft keeps it in your Microsoft account at aka.ms/myrecoverykey if BitLocker was set up with one. Write it down or keep it on your phone.
2. The settings you changed
Take phone photos of the BIOS pages you’ve customised: memory profile, fan curves, boot order, anything you tweaked. After the clear, everything is back to defaults and you’ll want to set those again.
Method 1: The Clear CMOS Button
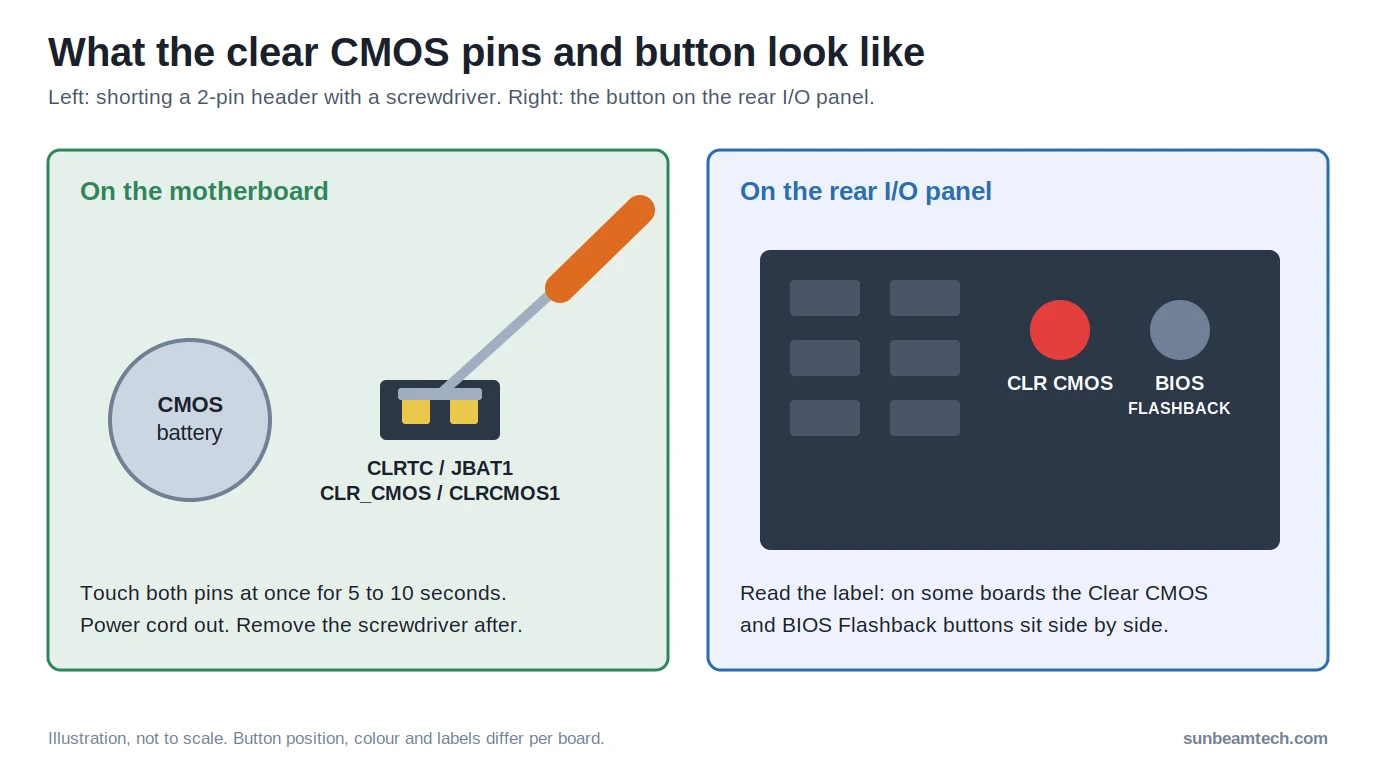
Many mid-range and high-end boards have a button labelled Clear CMOS or CLR_CMOS, either on the rear I/O panel next to the USB ports or on the board itself. This is the easiest and safest way.
- Shut down the PC and pull the power cord. Press the power button once to drain the leftover power, as MSI recommends.
- Check the label before you press. On some boards the Clear CMOS button sits right next to the BIOS Flashback button.
- Press and hold the Clear CMOS button for about 5 to 10 seconds, as ASUS instructs.
- Plug the power cord back in and switch on.
- The board will report that the BIOS settings were reset. Press F1 (or Delete) to enter the BIOS, load the optimized defaults (F5 on ASUS), then save and exit with F10.
Method 2: The Clear CMOS Jumper Pins
No button? Then your board has two jumper pins for it, usually near the battery or along the bottom edge. The label differs per brand:
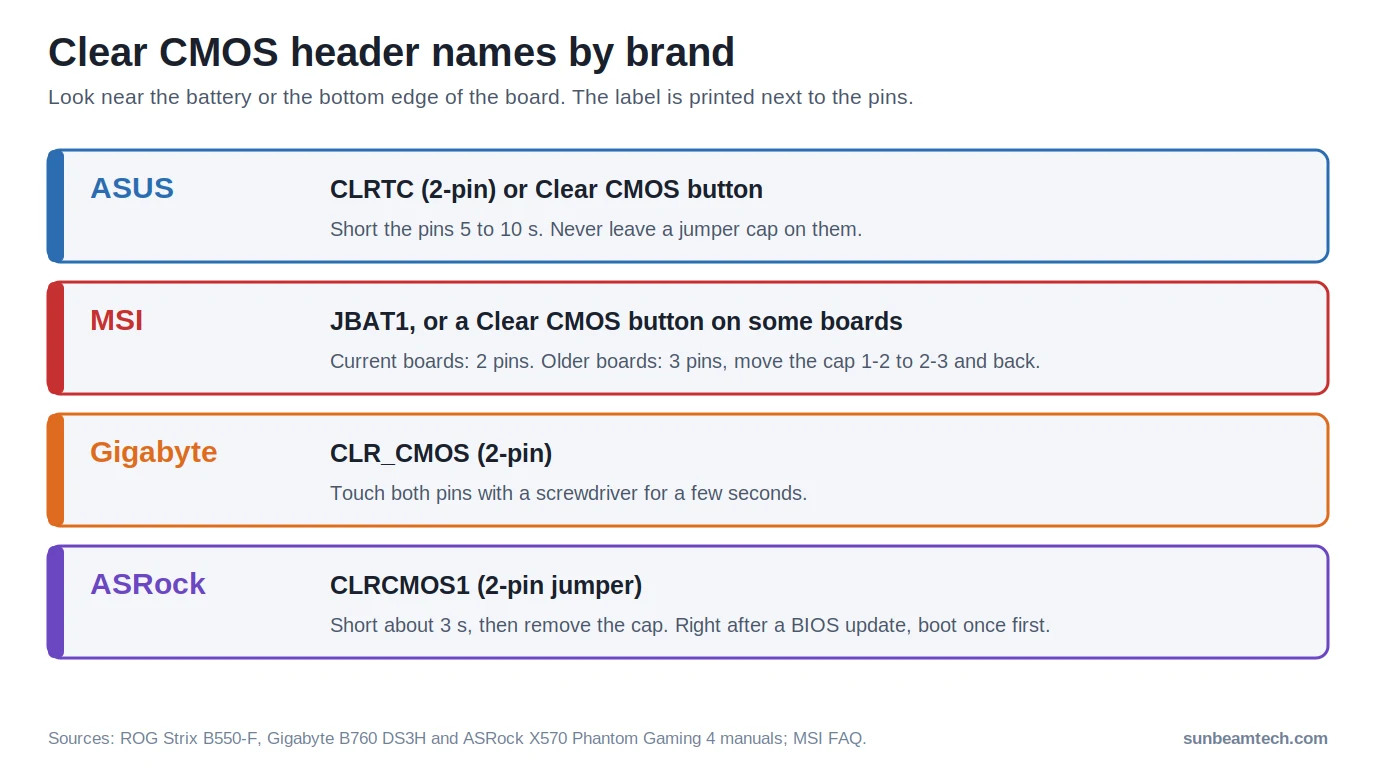
| Brand | Label | How the manual says to clear it |
|---|---|---|
| ASUS | CLRTC (2-pin) | Short the two pins with a metal object or jumper cap for 5 to 10 seconds. Never leave them shorted. |
| MSI | JBAT1 | Current boards: short the 2 pins. Older 3-pin boards: move the cap from pins 1-2 to 2-3, wait, move it back. |
| Gigabyte | CLR_CMOS (2-pin) | Touch both pins with a screwdriver for a few seconds. Open is normal, short clears. |
| ASRock | CLRCMOS1 (2-pin jumper) | Short with a jumper cap for about 3 seconds, then take the cap off again. |
- Shut down and pull the power cord. Clearing with power connected is exactly what the manuals warn against; old MSI manuals say it can damage the board.
- Find the pins using your manual’s board layout.
- Touch both pins at the same time with the tip of a flat screwdriver, or put a jumper cap on them, for 5 to 10 seconds.
- Remove the screwdriver or cap. ASUS’s manual is blunt about it: leaving the pins shorted or a jumper cap in place causes a boot failure.
- Power up, press F1 or Delete and load the defaults.
One ASRock-specific note from its manual: if you want to clear CMOS right after a BIOS update, boot the system once first, then shut down and clear.
Method 3: Remove the CMOS Battery
The battery keeps the CMOS memory powered, so taking it out cuts that power. ASUS doesn’t treat it as a method on its own, though. Its procedure is to remove the battery and clear with the pins or button, then put the battery back.
- Shut down and pull the power cord.
- Find the coin cell battery. Most sit in a round holder; press the small metal tab to pop it out. Note which side faces up.
- Clear with the button or the pins as described above.
- Put the battery back, plug in and switch on.
- Enter the BIOS, set the date and time, load the defaults, then save.
Some compact boards, mainly Mini-ITX, use a battery on a short 2-pin cable instead of a holder. In that case you unplug the cable from the board.
Laptops and Branded Desktops (Dell, HP and Others)
Everything above is about motherboards you can buy separately. Laptops and pre-built desktops from the big brands usually have no Clear CMOS button, and often no jumper you can reach. They use their own procedure, which can involve key combinations, a service jumper under a panel, or disconnecting the internal battery. Follow the maker’s own guide for your model: Dell and HP both publish one. Don’t go poking at laptop board pins based on a desktop guide.
After Clearing: Settings to Put Back
Everything is at factory defaults now. Go through this list before you call it done:
| Setting | Why it matters |
|---|---|
| Date and time | Reset along with everything else, especially after removing the battery |
| XMP or EXPO | Your RAM drops to its base speed until you enable XMP again |
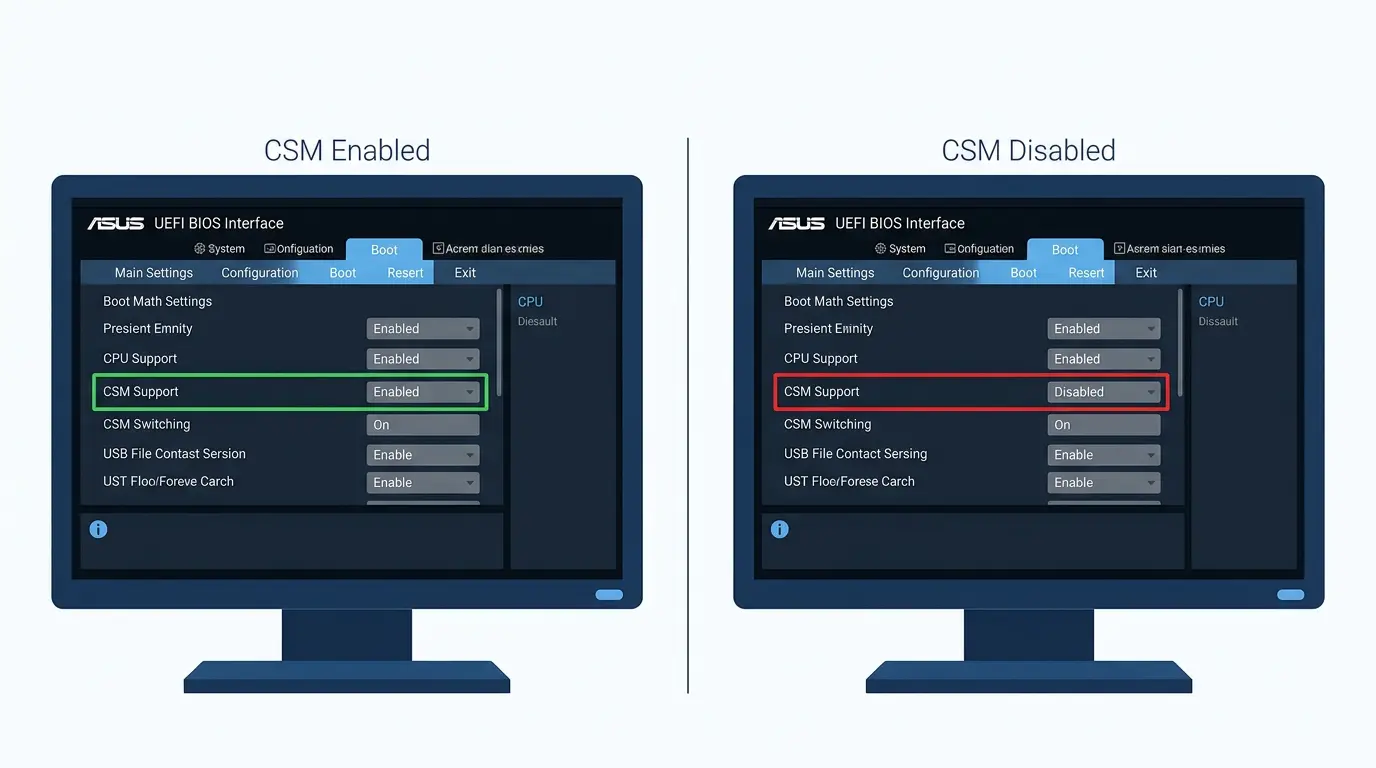
| Boot drive and boot mode | Windows Boot Manager should be first. Check that CSM matches how Windows was installed |
| TPM (fTPM / PTT) and Secure Boot | Needed for Windows 11 and for BitLocker to unlock without the recovery key |
| Virtualization (SVM / VT-x) | Only if you use virtual machines, WSL or Android apps. See SVM mode |
| Fan curves and fan speed limits | A lowered CPU fan limit is gone too, which can bring back a CPU fan error with quiet fans |
Troubleshooting After a CMOS Clear
Windows asks for a BitLocker recovery key
The TPM or Secure Boot settings changed. Enter the key from aka.ms/myrecoverykey, then go back into the BIOS and switch fTPM/PTT and Secure Boot on as they were. That usually stops the prompt on the next boots.
The clear didn’t seem to work
If your old settings are still there, the memory was never cleared. The usual reasons: the power cord was still in, so the board kept getting standby power; the pins weren’t shorted long enough; or the screwdriver only touched one pin. Pull the cord, press the power button to drain leftover power, and try again for the full 5 to 10 seconds. Still no change? Do what ASUS suggests: take the battery out and short the pins with the battery removed, then put it back.
The PC still doesn’t POST
Then the settings weren’t the problem. Check that the RAM is seated properly, the CPU power cable is in, and which debug LED stays lit. The DRAM light guide and PC powers on but no display take it from there. Also give the first boot time: after a reset, memory training can take a minute or more before anything shows on screen.
The date and time reset every time you unplug the PC
That points to a weak CMOS battery, since it’s the battery that keeps this memory alive while the PC has no power. Replace it with the same type; the model number is printed on the old one.
Frequently Asked Questions
Does clearing CMOS delete my files?
No. It only resets the BIOS settings memory on the motherboard. Windows, programs and everything on your drives stay untouched.
Is clearing CMOS safe?
Yes, as long as the PC is off and unplugged and you remove the screwdriver or jumper cap afterwards. The only common surprise is BitLocker asking for the recovery key, so have it ready before you start.
Will clearing CMOS reset my BIOS version?
No. It resets the settings, not the firmware. MSI states this explicitly: the BIOS stays on whatever version you installed.
How long should I hold the clear CMOS button?
ASUS says about 5 to 10 seconds, with the power cord removed. The same goes for shorting the pins.
Does removing the CMOS battery clear CMOS?
It can, but it’s the slowest and least reliable way on its own. ASUS’s procedure combines removing the battery with using the pins or button, so do both if the button and pins alone didn’t help.
What happens if I press the clear CMOS button by accident?
The same as clearing it on purpose: the BIOS settings go back to defaults. Nothing gets damaged. Enter the BIOS, set your memory profile, boot order and TPM/Secure Boot again, and have your BitLocker key ready in case Windows asks for it.
Can I clear CMOS while the PC is on?
No. Every manual says to power off and unplug first, and older MSI manuals warn that clearing with the system on can damage the board. Clear CMOS buttons are also meant to be pressed with the power cord removed.
What’s the difference between clearing CMOS and Load Optimized Defaults?
Load Optimized Defaults (or Load Setup Defaults) does the same reset from inside the BIOS. Use it when you can still get into the BIOS. Clearing CMOS with the button or pins is for when you can’t, for example because the PC no longer boots.

Alex has been building and tweaking custom PCs for over 12 years. From budget builds to full custom water loops, he’s assembled more than 50 systems and helped hundreds of builders troubleshoot their rigs. When he’s not benchmarking the latest hardware, you’ll find him optimizing airflow setups or stress-testing overclocks.