XMP Profile 1 vs 2: Which Should You Use?
XMP Profile 1 applies your RAM’s validated core settings, while Profile 2 programs additional subtimings for marginal performance gains at higher instability risk.
Last updated: June 2026
Table of Contents
- Quick Answer: XMP 1 or 2, Which Should You Use?
- What Is an XMP Profile? (Quick Refresher)
- The Short Version
- XMP Profile 1 vs XMP Profile 2, The Core Difference
- What XMP Profile 1 Changes
- What XMP Profile 2 Changes
- XMP Profile 1 vs Profile 2, Comparison Table
- Which XMP Profile Should You Use?
- Start With XMP Profile 1
- When to Try XMP Profile 2
- Platform-Specific Behavior (What Competitors Don’t Cover)
- Does XMP Profile 2 Actually Perform Better? Real Numbers
- Memory Bandwidth and Latency Impact
- When the Difference Actually Matters
- The Stability Risk Is Real
- What to Do If Neither XMP Profile Is Stable
- Step 1: Check Your QVL
- Step 2: Try a Lower Frequency First
- Step 3: Manually Adjust Voltages
- Step 4: Update Your BIOS
- How to Enable XMP in Your BIOS (Quick Steps)
- General Steps (All Major Brands)
- FAQ, XMP Profile 1 vs 2
- Is XMP Profile 2 always faster than Profile 1?
- Can XMP damage my RAM or CPU?
- Should I use XMP 1 or 2 for gaming?
- Does XMP Profile 2 exist on all motherboards?
- What’s the difference between XMP and EXPO?
- What You Should Do
Quick Answer: XMP 1 or 2, Which Should You Use?
Use XMP Profile 1. It applies your RAM’s full advertised frequency, primary timings, and voltage, everything you paid for, while staying on the broadly tested, stable path. Profile 2 layers on secondary and tertiary subtimings that aren’t validated as widely, and the real-world performance gain rarely justifies the instability risk for most users.
You just built your rig, enabled XMP in the BIOS, and hit a fork in the road: Profile 1 or Profile 2. The labels don’t explain anything, and you don’t want to pick the wrong one and spend the weekend chasing BSODs. Here’s exactly what each profile does, when Profile 2 is worth trying, and what to do when neither one cooperates.

What Is an XMP Profile? (Quick Refresher)
The Short Version
XMP stands for Extreme Memory Profile. It’s an Intel standard baked into the SPD (Serial Presence Detect) chip on your RAM stick. Without it, your system defaults to JEDEC speeds, typically 2133 MHz on DDR4 or 4800 MHz on DDR5, regardless of what speed is printed on the box. One BIOS toggle fixes that. If you’re on an AMD platform, the equivalent is EXPO (Extended Profiles for Overclocking), introduced with AM5 and Ryzen 7000. You can read a full breakdown of DOCP and EXPO settings for AMD platforms if that’s your setup. The core concept is the same on both sides. Enable the profile, get the speed you paid for. Done.
Most people landing on this page already know what XMP is. What they don’t know is why there are suddenly two profiles to choose from. That’s what this article is actually about.
XMP Profile 1 vs XMP Profile 2, The Core Difference
What XMP Profile 1 Changes
Profile 1 sets the four primary timings: CL (CAS Latency), tRCD, tRP, and tRAS. It also sets your clock frequency (say, 3200 MHz or 6000 MHz) and your DRAM voltage, usually 1.35V for DDR4 or 1.4V to 1.45V for DDR5. Everything else, the dozens of secondary and tertiary subtimings, gets filled in automatically by the motherboard using its own trained defaults.
This is the “manufacturer’s recipe.” Both your RAM vendor and your motherboard manufacturer tested this profile together during validation. It’s what gets listed on the QVL (Qualified Vendor List). Not risky.
What XMP Profile 2 Changes
Profile 2 does everything Profile 1 does, and then some. It explicitly programs secondary subtimings like tRFC, tRFC2, tWR, tRTP, and tFAW directly from the RAM vendor’s data, rather than letting the board decide. On some Intel platforms it also touches SA (System Agent) voltage and CPU IO voltages. On certain ASUS ROG Z390 and Z690 boards, Profile 2 was added specifically to push the full vendor-optimized settings without the board trimming or adjusting anything.
The tradeoff: Profile 2 hasn’t been validated as broadly. It works great on the specific board-and-kit pairings the RAM vendor tested internally. On everything else, results vary. A lot.
XMP Profile 1 vs Profile 2, Comparison Table
| Setting Changed | XMP Profile 1 | XMP Profile 2 |
|---|---|---|
| Clock Speed / Frequency | Yes | Yes |
| Primary Timings (CL / tRCD / tRP / tRAS) | Yes | Yes |
| DRAM Voltage | Yes | Yes |
| Secondary Subtimings (tRFC, tWR, tFAW, etc.) | Board defaults | Yes (RAM vendor values) |
| Tertiary Timings | Board defaults | Yes (on supported boards) |
| SA / IO Voltages (Intel) | Board defaults | Sometimes |
| Stability Risk | Low | Medium to High (board-dependent) |
| Validation Breadth | Wide (QVL-tested) | Narrow (kit/board-specific) |
| Performance Potential | Good | Slightly better (if stable) |

Which XMP Profile Should You Use?
Start With XMP Profile 1
For the vast majority of people, Profile 1 is the right answer and the right stopping point. It delivers 100% of your advertised clock speed and primary timings. The performance gap between Profile 1 and Profile 2 in real gaming scenarios is typically 0 to 3%. That’s within margin of error. According to contributors at Tom’s Hardware Forum, Profile 1 is the recommended starting point precisely because it allows the motherboard to handle secondary training automatically, which tends to produce better stability across a wider range of boards than locking in the vendor’s specific subtiming values.
If your system posts, boots into Windows, and runs stable on Profile 1, stop there. You’re done. Seriously.
When to Try XMP Profile 2
Profile 2 is worth testing under specific conditions. Your system needs to be rock-solid on Profile 1 first. Then consider it if:
- Your workload is memory-bandwidth-sensitive: video encoding in Premiere Pro, Blender renders, large dataset processing, or games running on Unreal Engine 5 can show measurable gains from tighter subtimings.
- Your RAM kit is on your board’s QVL: go to your motherboard manufacturer’s product page and cross-reference your exact kit part number before enabling Profile 2.
- You’re willing to run a stability test: 24 to 48 hours of MemTest86 or at least two full passes of OCCT Memory before you trust it for daily use.
If those conditions don’t apply, Profile 1 is your setting.
Platform-Specific Behavior (What Competitors Don’t Cover)
XMP Profile 2 doesn’t behave the same across all platforms. This matters a lot if you’re choosing based on your specific board generation.
| Platform / Chipset | XMP Profile 2 Behavior |
|---|---|
| Intel Z390 / Z490 | Profile 2 was introduced here. Often very aggressive. Instability reports were common, especially on G.Skill and Corsair kits at high frequencies. |
| Intel Z590 / Z690 | More refined implementation. DDR5 Z690 boards may show a larger measurable delta between profiles in bandwidth benchmarks. |
| Intel Z790 (DDR5) | Profile 2 may interact with Gear 2 vs Gear 4 mode decisions. Pay close attention to latency tradeoffs, more bandwidth doesn’t always mean better real-world performance. |
| AMD AM5 (EXPO) | AMD uses EXPO Profile 1 and 2 rather than XMP. Behavior is similar but tuned for the Zen 4 integrated memory controller. Some DDR5 kits carry both XMP and EXPO data on the same stick. |
| AMD AM4 (B550 / X570) | XMP is still used here. Profile 2 is less common. On AM4, FCLK (Infinity Fabric) frequency synchronization is a bigger performance concern than which XMP profile you pick. |
If you’re on a Z390 board in particular, lean heavily toward Profile 1. That generation had more instability reports with Profile 2 than any other, as documented in the ASUS ROG forum thread on XMP profile differences.
Does XMP Profile 2 Actually Perform Better? Real Numbers
Memory Bandwidth and Latency Impact
In synthetic benchmarks using AIDA64 on a DDR4 3200 MHz kit, Profile 1 typically lands in the 48 to 50 GB/s read bandwidth range. Profile 2, with tighter subtimings, can push that to 50 to 52 GB/s. Latency may drop by 1 to 3 nanoseconds. These are real differences in the numbers.
In actual games? The translation is much smaller.
When the Difference Actually Matters
At 1080p in CPU-bound titles like CS2, Valorant, or Warzone, you might see 2 to 4 extra frames per second with tighter subtimings. At 1440p and above, the GPU becomes the limiting factor and memory subtimings stop mattering almost entirely. For content creation, Premiere Pro and Blender in RAM-sensitive workloads can show 3 to 5% faster results. General desktop use? You won’t feel it.
The Stability Risk Is Real
Community reports from the ASUS ROG forum and various overclocking subreddits consistently show that a meaningful portion of users experience instability on Profile 2 that doesn’t exist on Profile 1. The symptoms are recognizable: BSODs with error codes like WHEA_UNCORRECTABLE_ERROR, random game crashes mid-session, and occasional POST failures on cold boot. Profile 1 users report near-universal stability on the same hardware.
That’s the actual cost of chasing 2 to 4 extra frames. Not worth it for most people.

What to Do If Neither XMP Profile Is Stable
This is where most guides end. You’re on your own. Here’s the actual fix process.
Step 1: Check Your QVL
Not every RAM kit is validated for every board at XMP speeds. Go to your motherboard manufacturer’s product page and download the QVL (Qualified Vendor List). Cross-reference your exact kit part number, including the sub-revision if it’s listed. If your kit isn’t on it, that’s your first clue about why it’s fighting you.
Step 2: Try a Lower Frequency First
Drop to the next JEDEC tier. If 6000 MHz fails, try 5600 MHz or 5200 MHz. If 3200 MHz fails, try 3000 MHz or 2933 MHz. This isolates whether the issue is the frequency itself or the timings. Knowing which one is causing the problem tells you what to fix next.
Step 3: Manually Adjust Voltages
Sometimes XMP fails not because the timings are wrong, but because the voltage headroom isn’t enough. Try these increments:
- DDR4 DRAM voltage: increase by 0.025V to 0.05V increments, staying under 1.45V for daily use
- DDR5 DRAM voltage: 1.4V is generally considered the safe daily limit for consumer kits
- Intel SA voltage: bump to 1.25V to 1.30V if you’re seeing training failures or instability at high DDR4/DDR5 speeds
- AMD AM5 VSOC: 1.2V to 1.25V range is where most people find stability at 6000 MHz and above
Step 4: Update Your BIOS
This one gets skipped constantly. BIOS updates routinely include improved memory training algorithms, better XMP compatibility, and fixes for specific kit behavior. Check your motherboard manufacturer’s release notes for entries that mention “improved memory compatibility” or “XMP training optimization.” A BIOS update has solved profile instability for a lot of builders who thought they had defective RAM.
How to Enable XMP in Your BIOS (Quick Steps)
General Steps (All Major Brands)
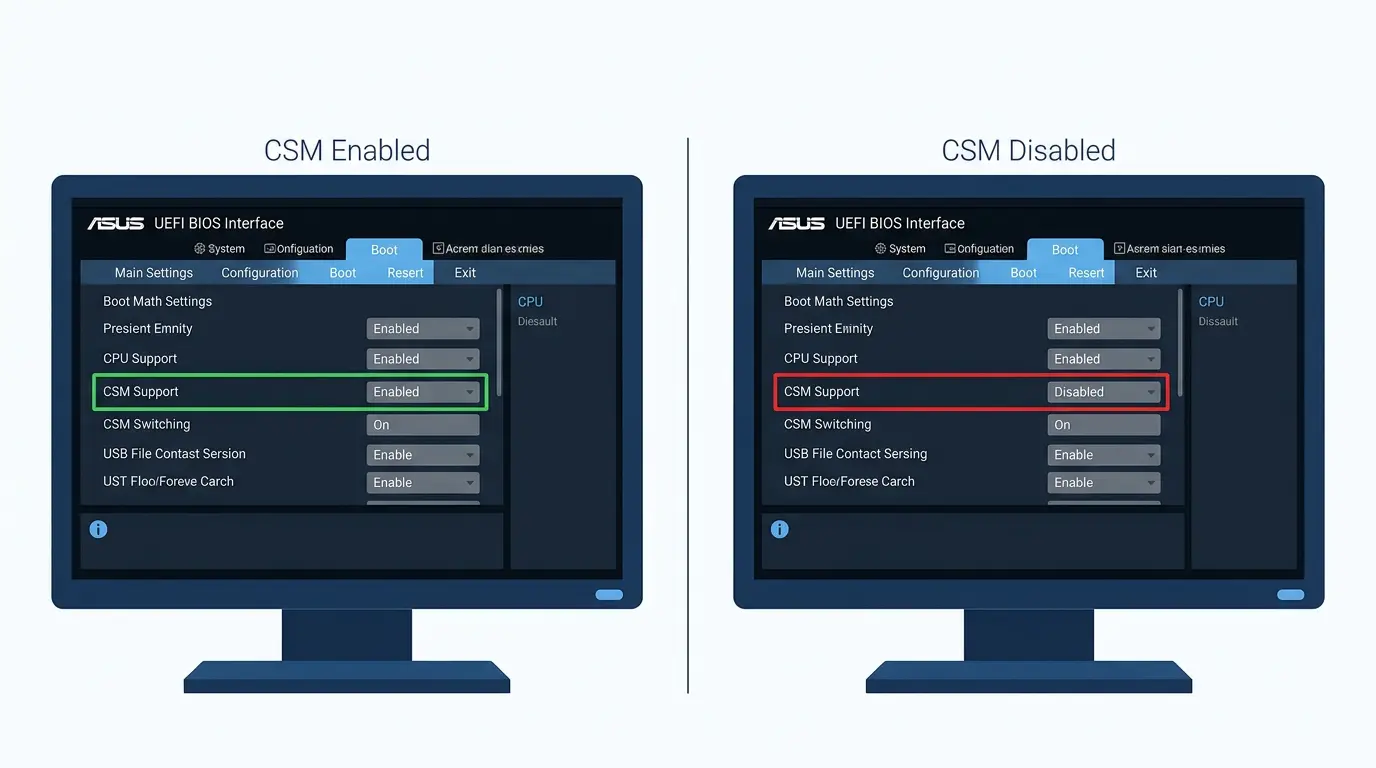
For a complete click-by-click walkthrough with screenshots for every major BIOS vendor, see our step-by-step guide to enabling XMP in BIOS. The short version: the menus have different names depending on who made your board, but the process is the same. Press DEL or F2 at the POST screen to enter BIOS. Look for your overclocking section: ASUS calls it AI Tweaker, Gigabyte uses M.I.T., MSI labels it OC, and ASRock uses Performance. Inside that section, find the XMP or Extreme Memory Profile option. Set it to Profile 1 first. Save with F10 and reboot. Let the system run normally for at least 24 hours before judging stability. If everything checks out and you want to experiment, come back and switch to Profile 2, then run MemTest86 or OCCT Memory for at least two full passes before treating it as your daily setting.
If you want a deeper look at what XMP actually does to your memory controller and why it matters, the full XMP explainer covers it from first principles.
FAQ, XMP Profile 1 vs 2
Is XMP Profile 2 always faster than Profile 1?
Not necessarily. Profile 2 applies more aggressive subtimings that can improve bandwidth and reduce latency, but the gains are typically under 3% in real-world use. Synthetic benchmarks like AIDA64 show a clearer difference, but gaming and productivity workloads rarely translate that gap into something you’d notice. If Profile 2 causes instability, any performance advantage disappears entirely.
Can XMP damage my RAM or CPU?
Running standard XMP profiles within the kit’s advertised specifications is safe. XMP voltages, 1.35V for DDR4, around 1.4V for DDR5, fall within manufacturer-rated operational specs. Where degradation risk increases is when you manually push voltage well beyond XMP values for extended periods. Standard profile use doesn’t cause that.
Should I use XMP 1 or 2 for gaming?
XMP Profile 1 is the right call for gaming. The FPS difference between Profile 1 and Profile 2 is typically 0 to 4 frames in CPU-bound scenarios, and in GPU-limited scenarios at 1440p or 4K, there’s no measurable difference at all. Profile 1 delivers your full advertised clock speed with significantly better stability. That’s the smarter trade.
Does XMP Profile 2 exist on all motherboards?
No. XMP Profile 2 became common starting with Intel Z390 generation boards. Older platforms like Z270, Z170, and most B450 boards typically expose only one XMP option. Whether two profiles appear in your BIOS also depends on the specific RAM kit, since some kits only program one profile onto their SPD chip. If you only see one option, that’s normal.
What’s the difference between XMP and EXPO?
XMP is Intel’s memory overclocking standard. EXPO is AMD’s equivalent, introduced alongside the AM5 platform and Ryzen 7000 series. Both serve the same function: storing validated overclock profiles on the RAM’s SPD chip and applying them with a single BIOS toggle. The difference is that each standard is tuned for its respective memory controller. Some DDR5 kits ship with both XMP and EXPO profiles programmed on the same stick, covering both platforms from one product. For a full side-by-side breakdown, see our XMP vs EXPO comparison.
What You Should Do
Enable XMP Profile 1 and leave it there. It gives you every MHz you paid for, runs on validated settings that your board and RAM were tested against together, and won’t leave you debugging crashes on a Saturday afternoon. If you’re stable there and genuinely need more from your system, you’re running memory-bandwidth-heavy workloads, your kit is on your board’s QVL, and you’re ready to run a full stability test, then Profile 2 is worth a shot. But for the overwhelming majority of builders, Profile 1 is the destination, not a stepping stone. And whatever you do, don’t leave XMP disabled entirely. Running a 6000 MHz DDR5 kit at 4800 MHz is like buying a sports car and never going over 40.

Alex has been building and tweaking custom PCs for over 12 years. From budget builds to full custom water loops, he’s assembled more than 50 systems and helped hundreds of builders troubleshoot their rigs. When he’s not benchmarking the latest hardware, you’ll find him optimizing airflow setups or stress-testing overclocks.